Why Choose 12V RV Lights? Analysis of Three Core Advantages
Core Advantages of 12V RV Lights
Low Power Consumption, Longer Battery Life
12V RV lights are tailored for vehicle power systems, using just 20% of the energy consumed by regular household lights. Take a typical 10W LED ceiling light, for instance: running continuously for 20 hours uses only around 0.2 kWh, which eases the strain on your RV battery significantly.
Seamless Fit with RV Power Setups
Most RVs operate on a 12V DC power system, quite different from the 220V AC used in homes. These 12V RV lights have built-in voltage stabilizers. That means when you start the engine and the power fluctuates, they won’t flicker or get damaged.
What’s better? You don’t need those big, clunky inverters like you do with regular household lights. This 12V design saves space and works more efficiently, too.

A Guide to Choosing RV Ceiling Lights
Size and Installation Method
When choosing an RV ceiling light, first measure the size of the opening of your existing light fixture and check its installation method.
Recessed lights have a neat and sleek appearance but are more difficult to install. You need to make precise cuts in the interior panels of the RV, so extra care is required during installation. If you plan to upgrade the light fixture yourself, surface-mounted lights are a good option. They simply attach to existing surfaces without requiring permanent modifications to the vehicle.
Brightness and Color Temperature
For RV ceiling lights, brightness should be calculated at 3-5 watts per square meter. Lumen (lm) values are more accurate than wattage in reflecting brightness: reading areas require 300-500lm of cool white light (6000K), while bedrooms are best suited for 200-300lm of warm yellow light (3000K).
Key Features and Considerations
Shockproof structure: Choose lights with silicone damping pads, as they are more durable on bumpy roads.
Waterproof requirements: Lights for bathrooms and kitchens need to have at least an IP44 protection rating; if installing outdoors, ensure the protection rating is IP65.
Emergency backup: Some lights come with their own batteries and automatically switch to backup mode when the power is cut off.
In addition, for the entrance of the RV, DAMAVO's porch light is a suitable choice. It features a motion-sensing automatic switch function, an ultra-slim design to avoid head bumps, and dual-mode options (white light/warm light), which can meet the lighting needs and usability requirements at the entrance of the RV.
12V RV Light Installation Guide
Before setting up 12V RV lights, first flip the main power switch to off. Grab a multimeter to check that the circuit’s truly dead—safety first. Gather basic tools: a Phillips screwdriver, wire stripper, and electrical tape should do. It’s smart to sketch a layout beforehand, noting where wires will run—this is extra important if you’re hooking up multiple lights in a series.
Most 12V RV lights come with red and black wires. When using solderless connectors, push the wire cores all the way in until you hear a "click"—that means they’re locked in right. For lights over 10W (the higher-power ones), better to run a new line straight from the distribution box instead of tapping into the existing lighting circuit.

FAQs on 12V RV Lights
Q: Will 12V RV lights work with a 24V system?
A: A few LED types can handle 12-24V, but you’ll want to check the product specs first. Your standard 12V lights could fry if hooked straight to 24V.
Q: What’s good for boosting the mood lighting in an RV?
A: LED strips are a great bet. They run on 12V low voltage, so they’re safe, and lots let you dim them or switch colors with a remote.
Q: What type of light is suitable for the RV entrance?
A: DAMAVO’s porch light is recommended. It features motion-activated auto-switching, an ultra-slim design to avoid head bumps, and dual-mode options (white/warm light).
Q: Does an IP53 waterproof rating work for RV lights?
A: IP53 keeps out dust and light splashes, so it’s okay for dry indoor spaces. But in wet spots like bathrooms or kitchens, you’ll need at least IP65. For outside, make it IP67.
Q: Do I need a pro to install RV ceiling lights?
A: Basic plug-and-play ones you can put in yourself. But if you’re changing wires or hooking up smart systems, better get a pro electrician. They’ll make sure it’s waterproof and the circuits are safe.
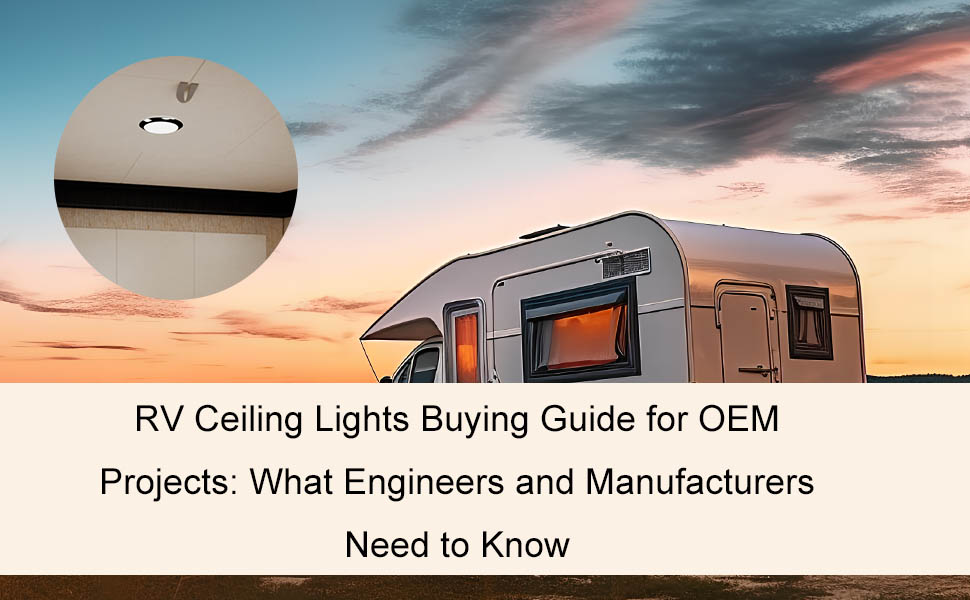
RV Ceiling Lights Buying Guide for OEM Projects: What Engineers and Manufacturers Need to Know
Boat Navigation Lights : A Complete Guide for Safe Nighttime Sailing
Related Article